Central Vacuums
Installation


New Construction
We started making the products we wanted to see in the world and we did this with Installation in a new construction home is simple. The installer will usually make two trips to the house. The first visit will be during the planning stage to "rough in" the system. The "rough in" includes running the special vacuum PVC pipe and planning the location of the inlets. The second visit takes place after the walls are finished. The installer adds the finishing touches by placing the inlets and hanging the power unit.an uncompromising approach to sustainability.
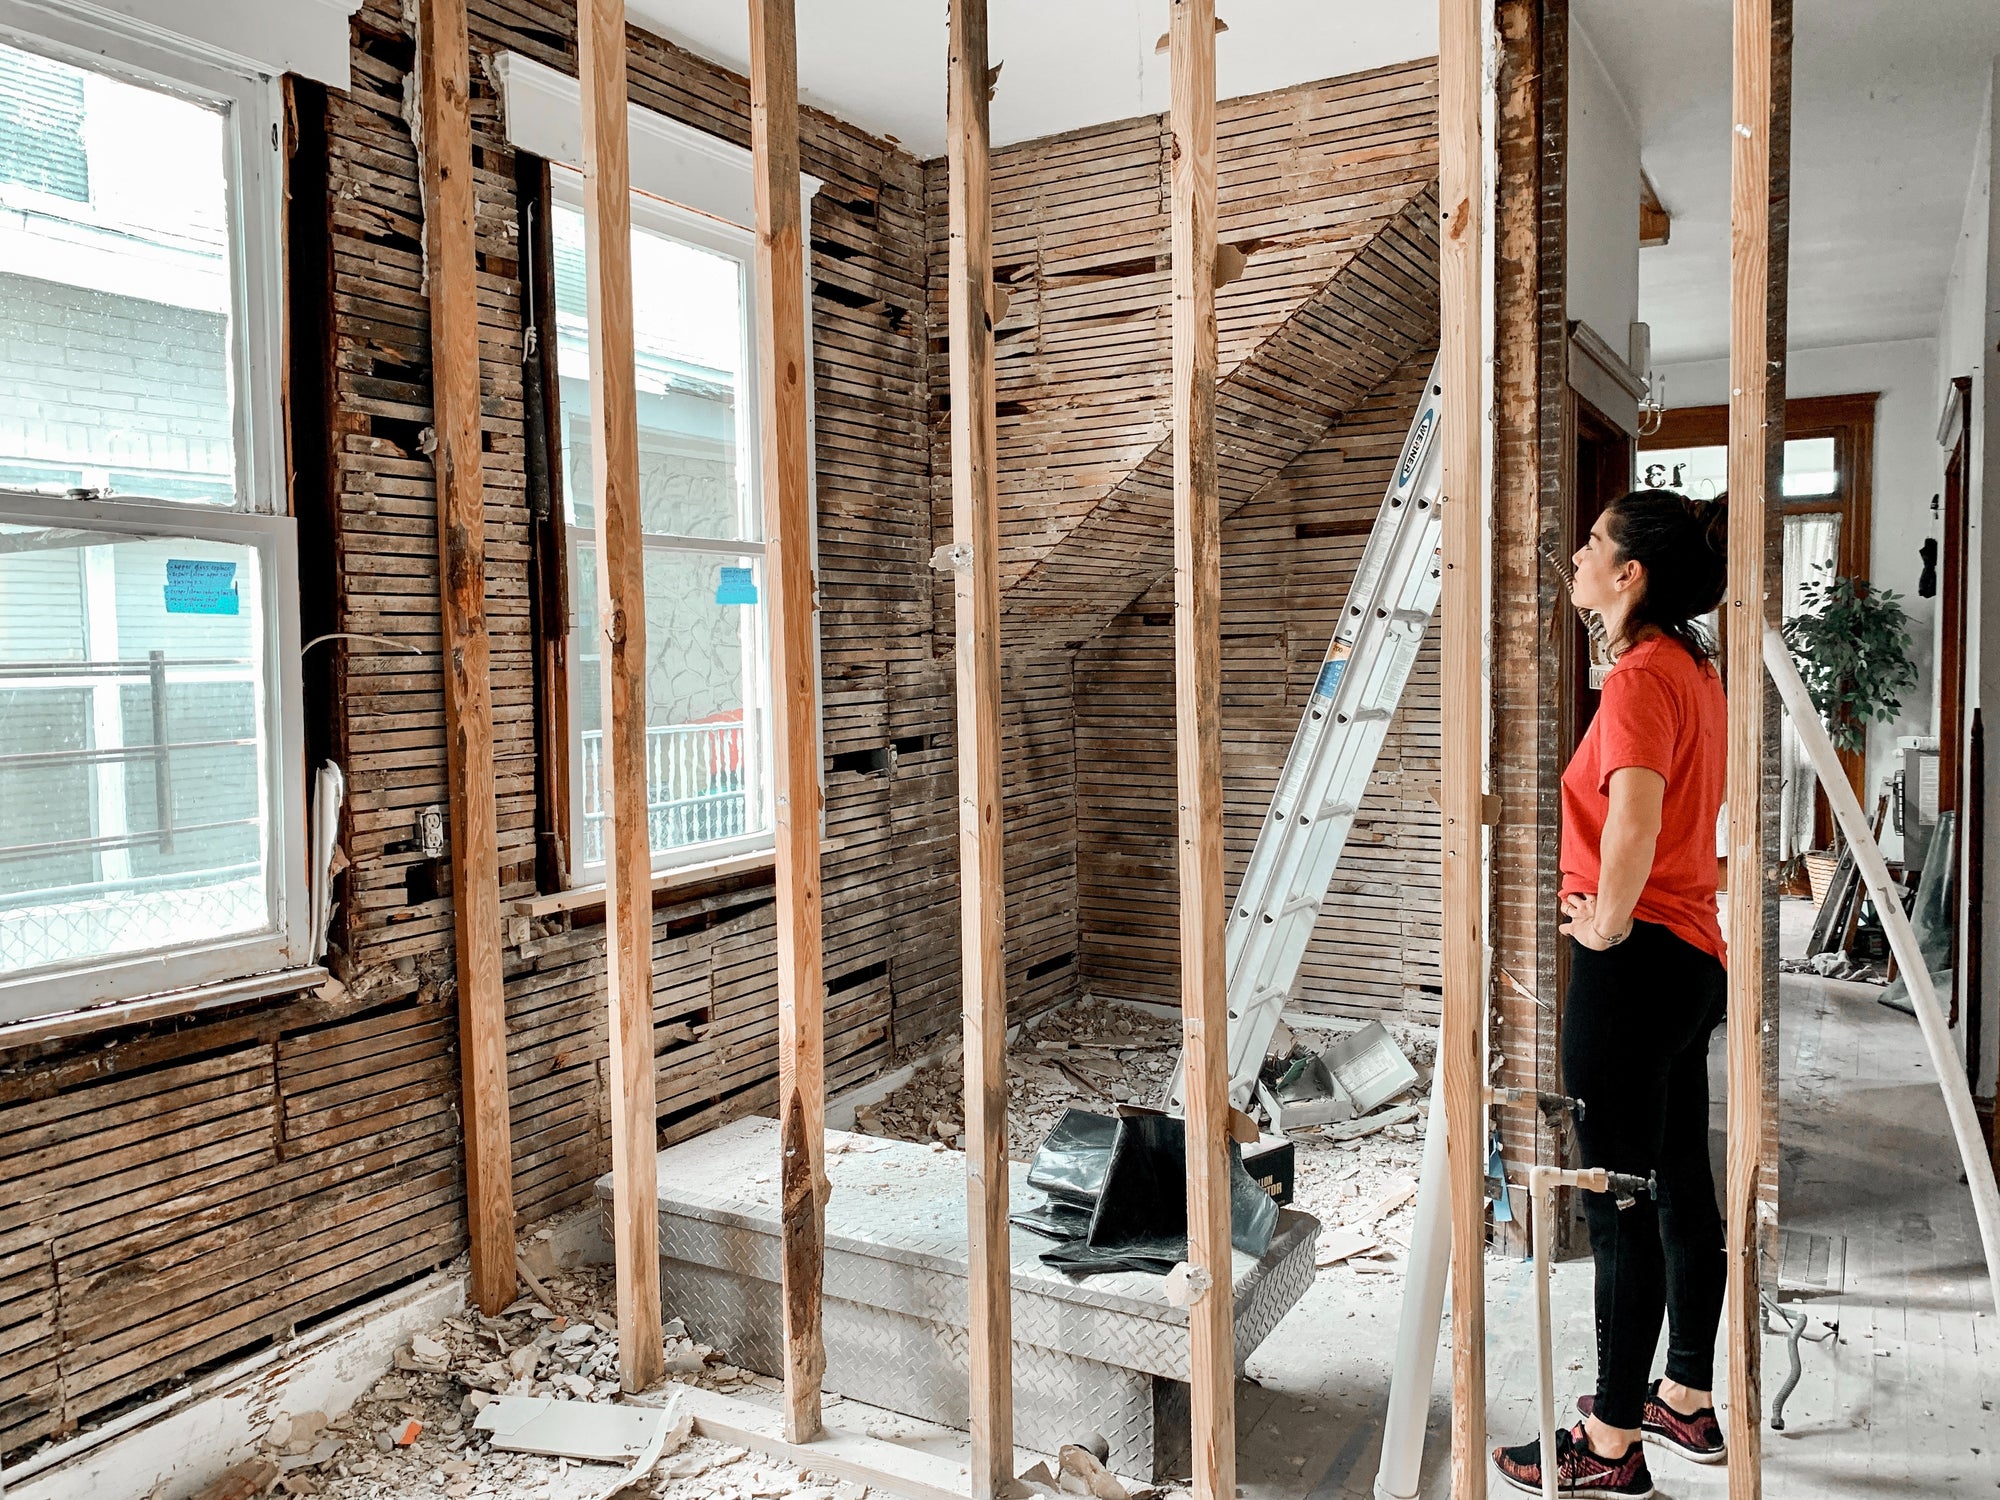
Existing Home
Installing a central vacuum in an existing home is also easy. Accessing the interior walls of the home can be done through an attic, basement, or crawl space. No heavy construction or remodeling is necessary.

Do It Yourself
Do-It-Yourselfers:
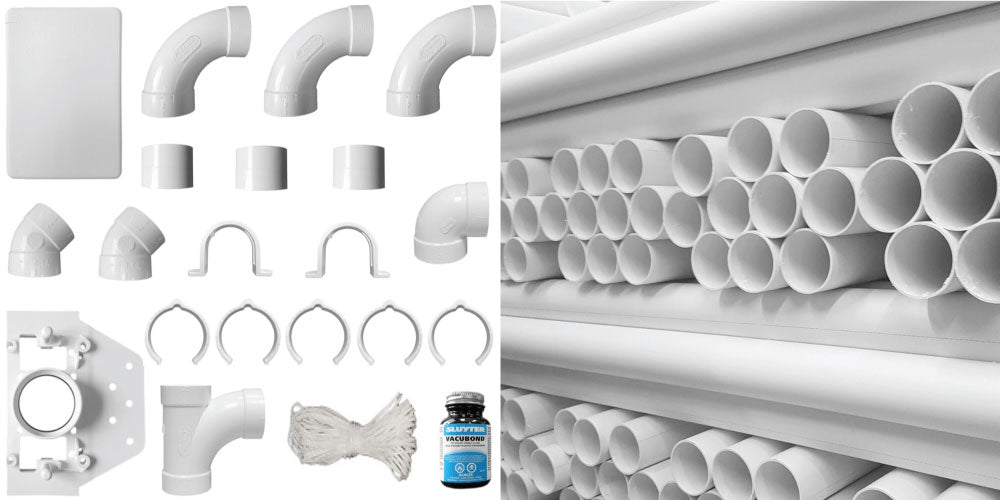
Central vacuum systems are simple to install in any home. Regardless of size, style or age; our central vacuum systems have been designed with the ‘handyperson’ homeowner in mind. Everything you could need for a complete installation is available from us - even an illustrated, step-by-step manual. You supply the tools and the basic skills - we supply everything else needed for a smooth installation.
How to Install a Central Vacuum System
The first step is to make sure to accurately inventory all parts needed for assembly and use the appropriate tools for the job. With a successful setup, you will be able to enjoy the benefits of a powerful, reliable cleaning system that takes the hassle out of vacuuming.
The key to an effective central vacuum system is determining the correct number of inlets needed to provide coverage in your home. Each inlet can serve up to 800 square feet, so calculation of the number of inlets is essential for maximum reach and performance. Interior walls are the best option for installation, ensuring that no insulation impairs the system's capabilities.
The inlet valve for this product is designed to be placed in optimal locations such as central hallways or closet walls and/or doorways. To ensure secure placement, a stud finder or sound-out should be used to confirm the space between the studs is open and clear of obstructions. This ensures optimal performance and reliable usage.
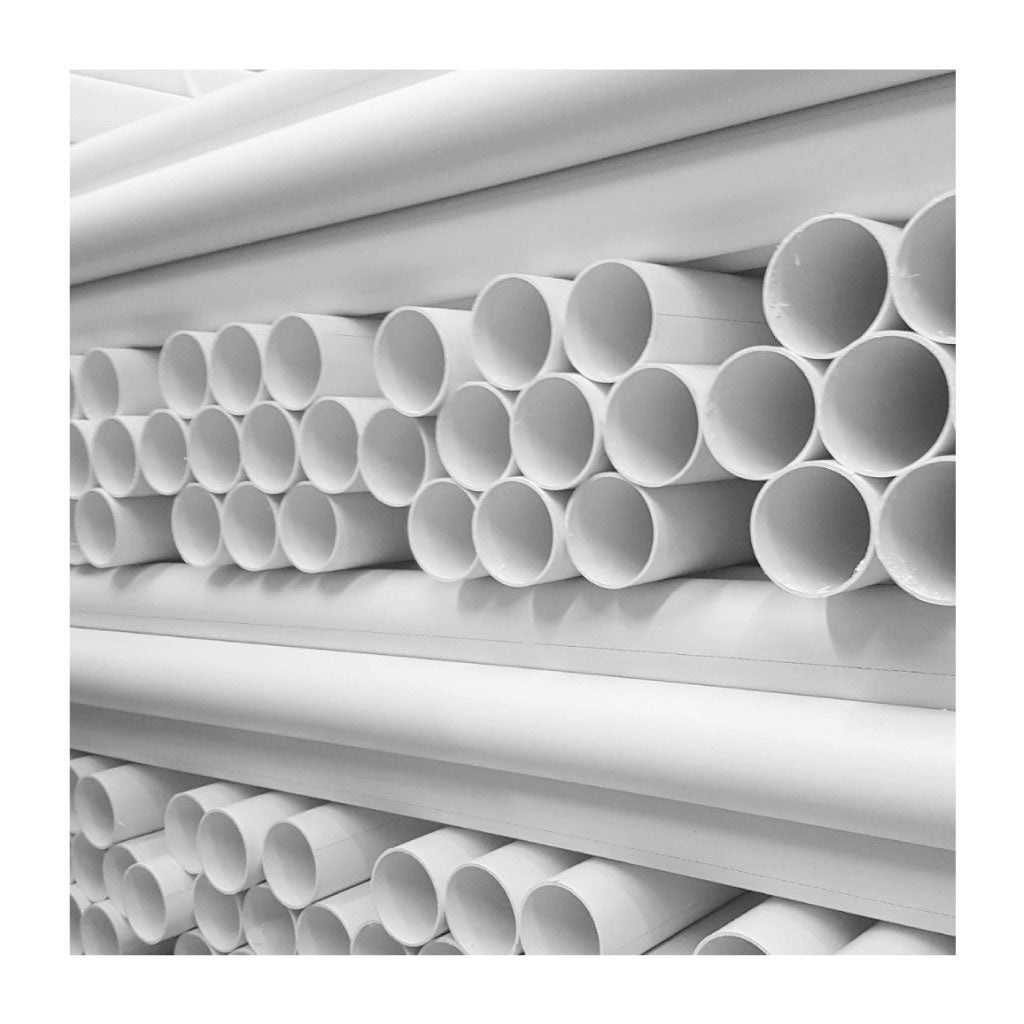
Plan your dust collection tubing installation . Create the most efficient route between the inlet valves and the power unit minimizing labor by running tubing beneath the subfloor when possible.
The next step is to Install the inlet valves. They come in two varieties: electric and standard (low volt), both of which can be used in either new or existing constructions.
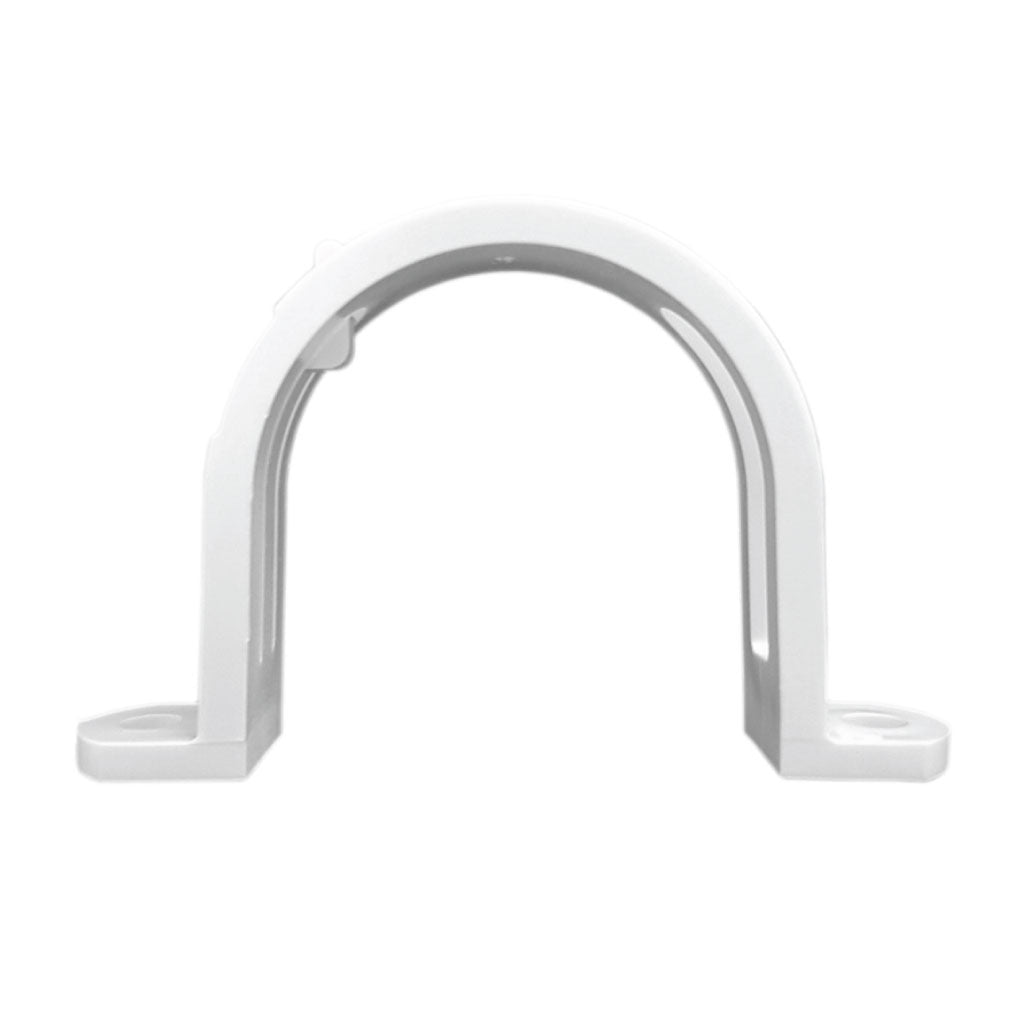
First secure the tubing in place with
string or low-voltage wire, creating a hanger strap to ensure the tubing stays
in position during work. This helps make installation easier and more
efficient, saving time and money.
Insert a length of tubing into the inlet valve assembly's
bottom. Temporarily assemble tubing sections to ensure proper fit and mark the
connections for future reassembly. Note that the tubing should be approx. 3/4
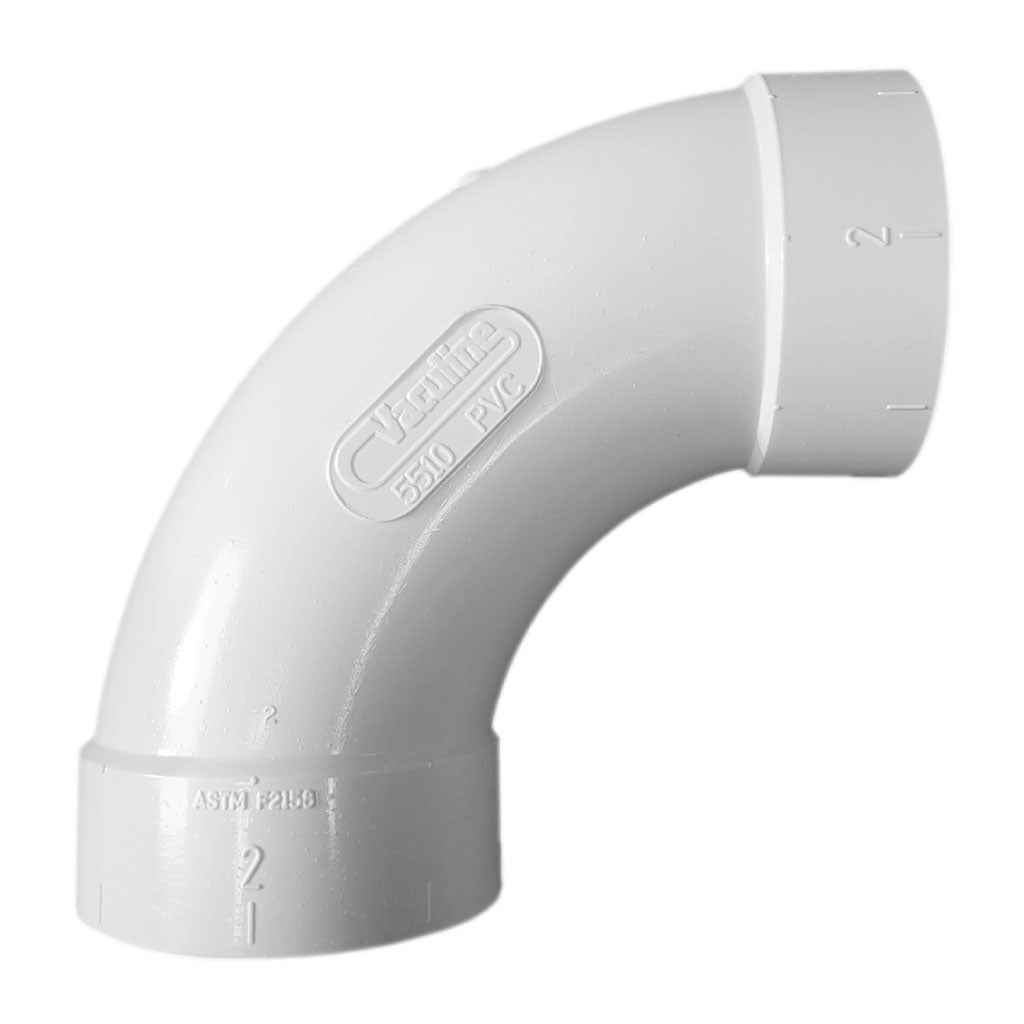
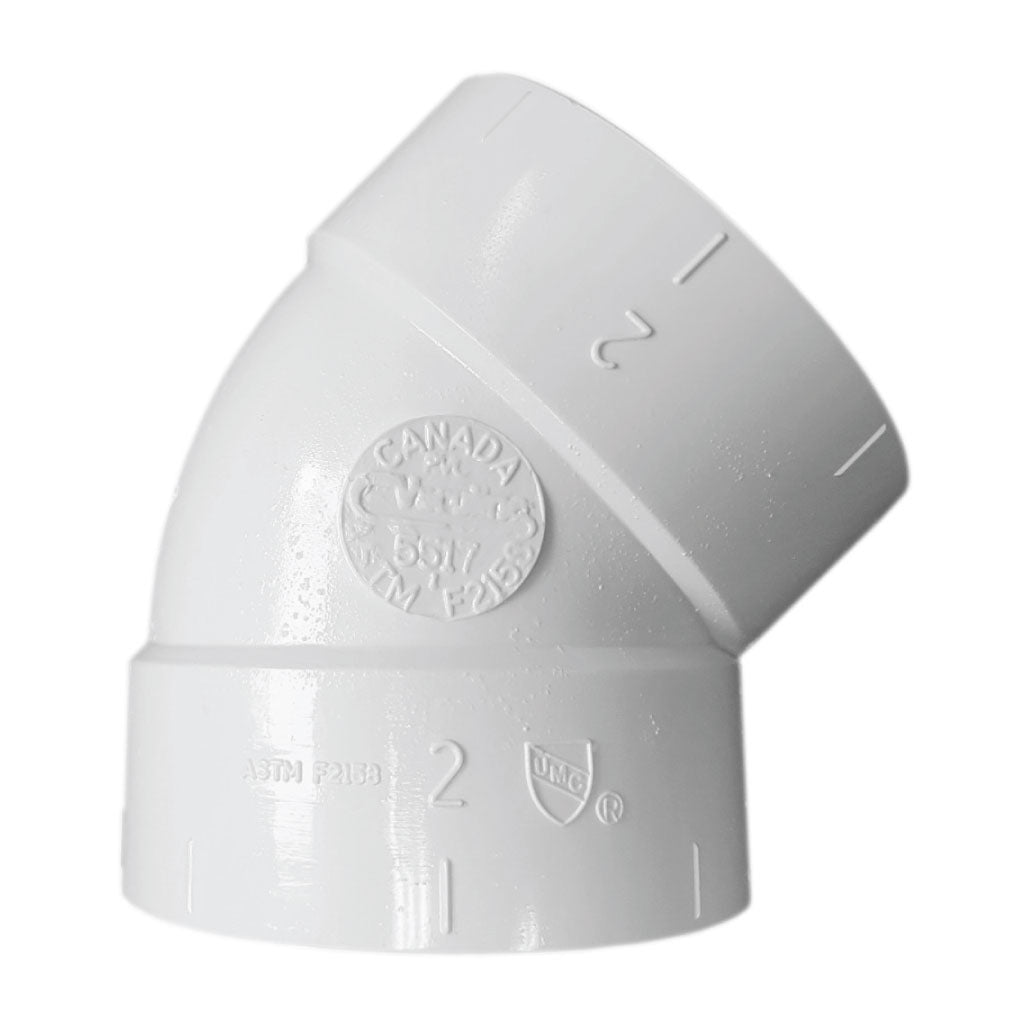
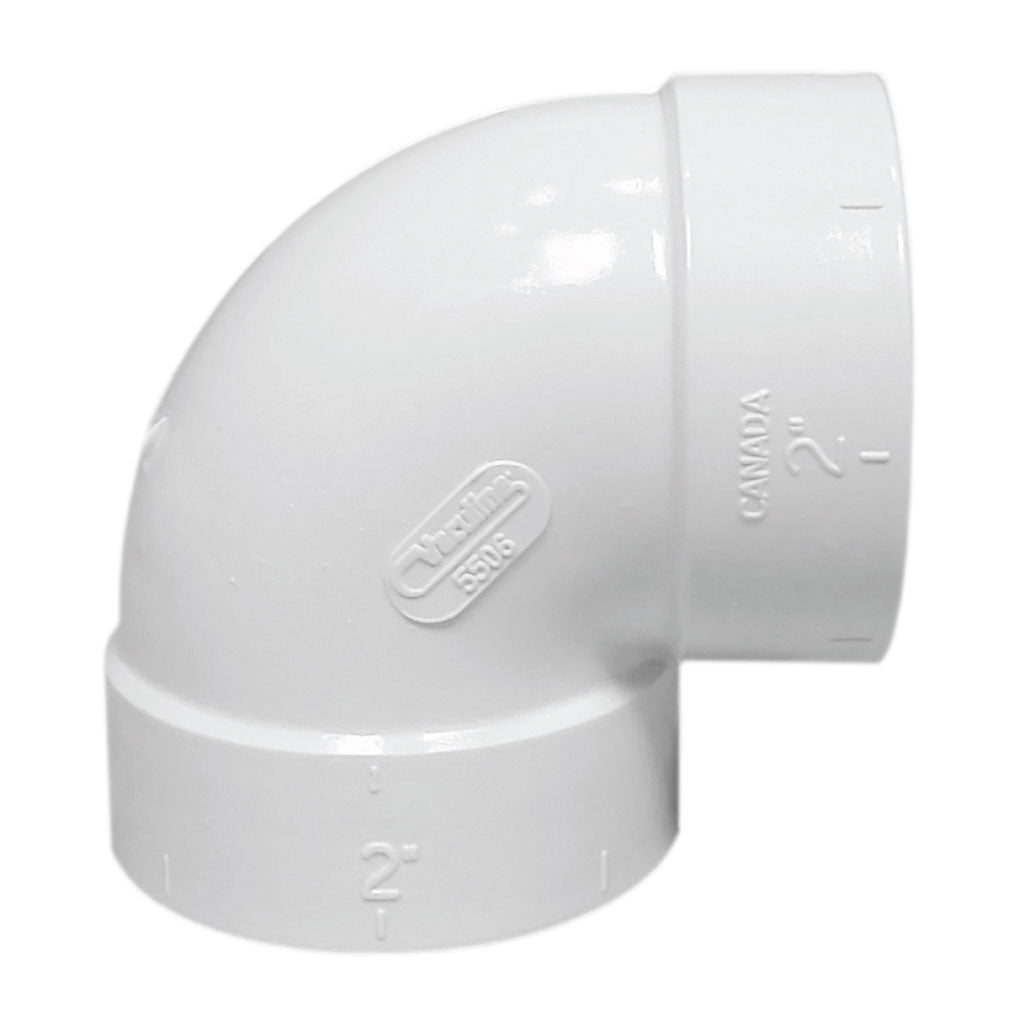
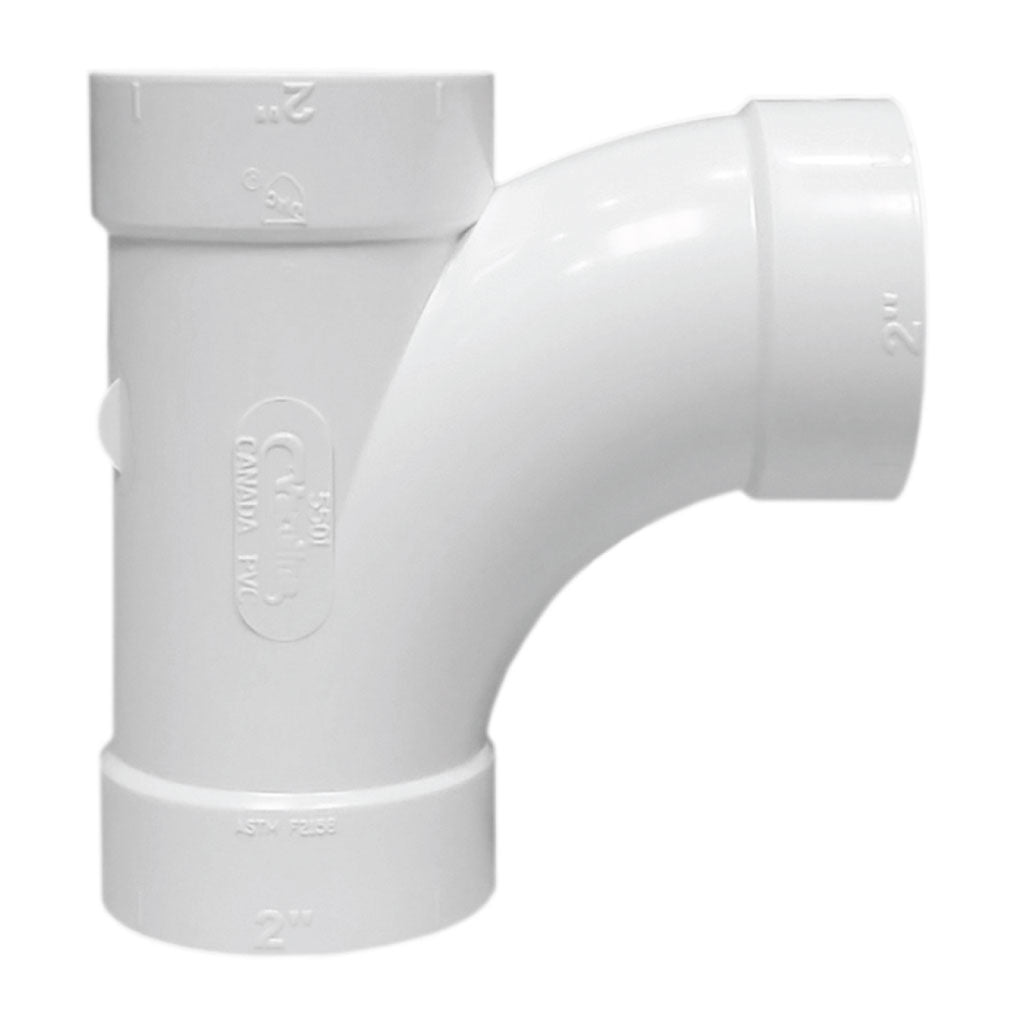
in. into the fitting. Measure, cut, and de-burr the tubing, then slip-fit the
vertical line to the main horizontal line with a Sweep 90 Degree Elbow fitting.
To avoid potential clogging issues when installing tubing
and fittings, cut tubing straightly with a pipe/tubing cutter or miter saw,
then take off burrs from the edges. Ensure that the tubing fits snugly against
the fitting and, prior to assembly, glue just the external area of tubing.
Fasten the pipe and fittings together by pushing and twisting.
This power unit offers convenience and ease of use with its attachment to the wall. Hang within 6 feet of a grounded electrical outlet and 18 from the floor for easy receptacle emptying. Additionally, 12 of space is required between the unit and the ceiling for proper motor cooling.
You migth need